Materials Needed
|
Steps
 | |||
 | |||
 | |||
 | |||
 | |||
More Ideas
 | ||
 | ||
 Retirado daqui | ||
|
| |||
| |||
| |||
| |||
| |||
| ||
| ||
Retirado daqui | ||
Paper Flower Centerpiece
By Cathy Callahan

A centerpiece made with fresh flowers adds a nice touch to the tables for the guests at your wedding reception, but unfortunately fresh flowers can cost a small fortune. You love the idea of fresh flowers, but the thought of doing them on the big day (along with getting hitched) may be out of the question. If you're crafty (or have friends who are), there are lots of alternatives to fresh flowers that can be even more special because they're made by hand!
Paper is a great choice for making flowers. The good news about paper flowers is that they can cost next to nothing to make. If you break down the costs of what I made as pictured, it's probably no more than $2. These can be a little time-consuming to make, but would be great to do well enough in advance. I think it would be super fun to have a centerpiece-making party. Have some friends and family over and serve some snacks!
I just love working with crepe paper but it can be hard to find and sometimes a little pricey if you have to make a lot of flowers. For this project I used crepe paper streamers, which are available at most party stores and cost less than $1 per roll!
Small clay pot
Foam I recycled packaging from my new toaster oven or you can use green floral foam. Make sure it's for dry and not wet flowers.
Easy Felt felt that has been stiffened
22-gauge cloth-covered floral stem wire
Crepe paper streamers I used 3 colors for petal, center, and leaves.
32-gauge cloth-covered spool wire
Acrylic craft paint (optional)
Old steak or bread knife
Tacky craft glue
Ruler
Compass
Wire cutters
Heavy duty scissors to cut felt
Good sharp scissors for paper
Large needle
Step 1: Clean the clay pot. If you have to get it wet, make sure it is completely dry before you begin your project. This might take overnight because clay is super absorbent. (This is especially important if you paint your pot.) Paint if desired or leave natural.

Step 2: Using the old steak or bread knife, cut the foam to fit inside the pot. It should be just below the rim of the pot. Glue into place and allow to dry.

Step 3: Measure the diameter of the pot with your ruler. Using a compass, draw a circle just slightly smaller than the diameter of the pot onto the felt and cut out using your heavy duty scissors. It should be able to sit right on top of the foam and fit just inside the pot. Trim as needed to fit. Using the large needle, pierce a hole in the dead center of the felt. Glue in place on top of the foam, making sure you do not get any glue around the area where you pierced the hole (that's where you will later put in the stem). Allow to dry.

Step 4: Cut a strip of crepe paper streamer about 12" long and cut fringe as shown. Dab a few drops of glue and wrap around the top ½" of the stem wire. Make sure you don't use too much glue as it will make the paper too wet and it will tear. As you wrap, pinch the paper about every ¼" or so as you go around until the paper is wrapped all the way around. This part take a little practice so don't worry if it takes you a couple of attempts to get the hang of it.

Step 5: Cut a strip of crepe paper streamer approximately 24" long, and cut at both ends (what will become the top of your flower) as shown. Just as you did in Step 5, wrap the paper around to create the petals of the flower. With each wrap around the stem, come slightly down to give the petals a more natural look.

Step 6: Cut a 2" strip of crepe paper, fold in half, and wrap around the base of the flower. Dab a little glue to secure and wrap with a few inches of the spool wire. Cut stem to desired length and insert into pot through the hole and into the foam.

Step 7: Cut a leaf shape from the crepe paper and about 5" of spool wire. Apply a little glue (the length of the leaf) to the end of the wire and apply the leaf to the wire. Twist it around stem wire, referring to the completed project photo for placement.

Step 8: Cut a few inches of paper as shown and wrap around the base of the stems to create a "grass" effect. Dab a little glue to secure.
Your centerpiece is complete! Repeat the process for each table for your wedding reception. And when the evening is over, it's a great take-home gift (that lasts!) for friends or the bridal party.
About the Author:

Cathy Callahan is a crafter and window dresser who draws inspiration from vintage crafts. She blogs about 1960s and 1970s crafts at cathyofcalifornia.typepad.com.
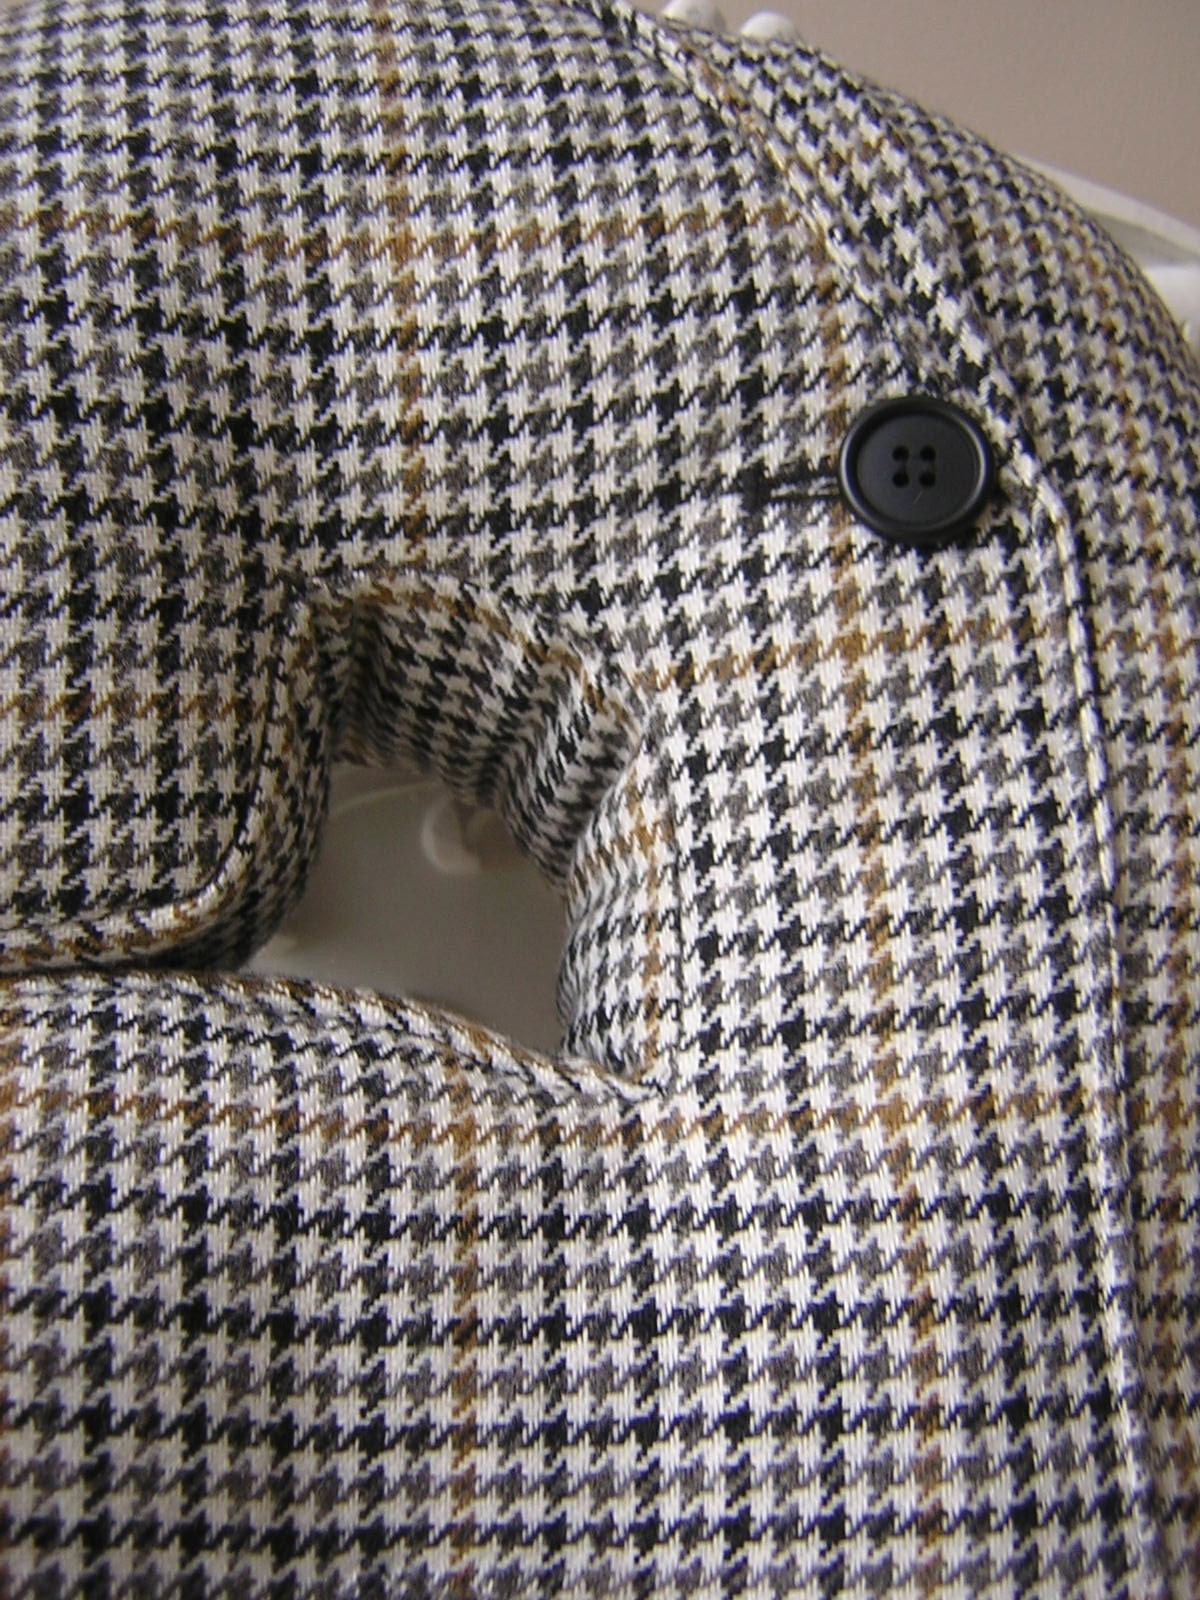
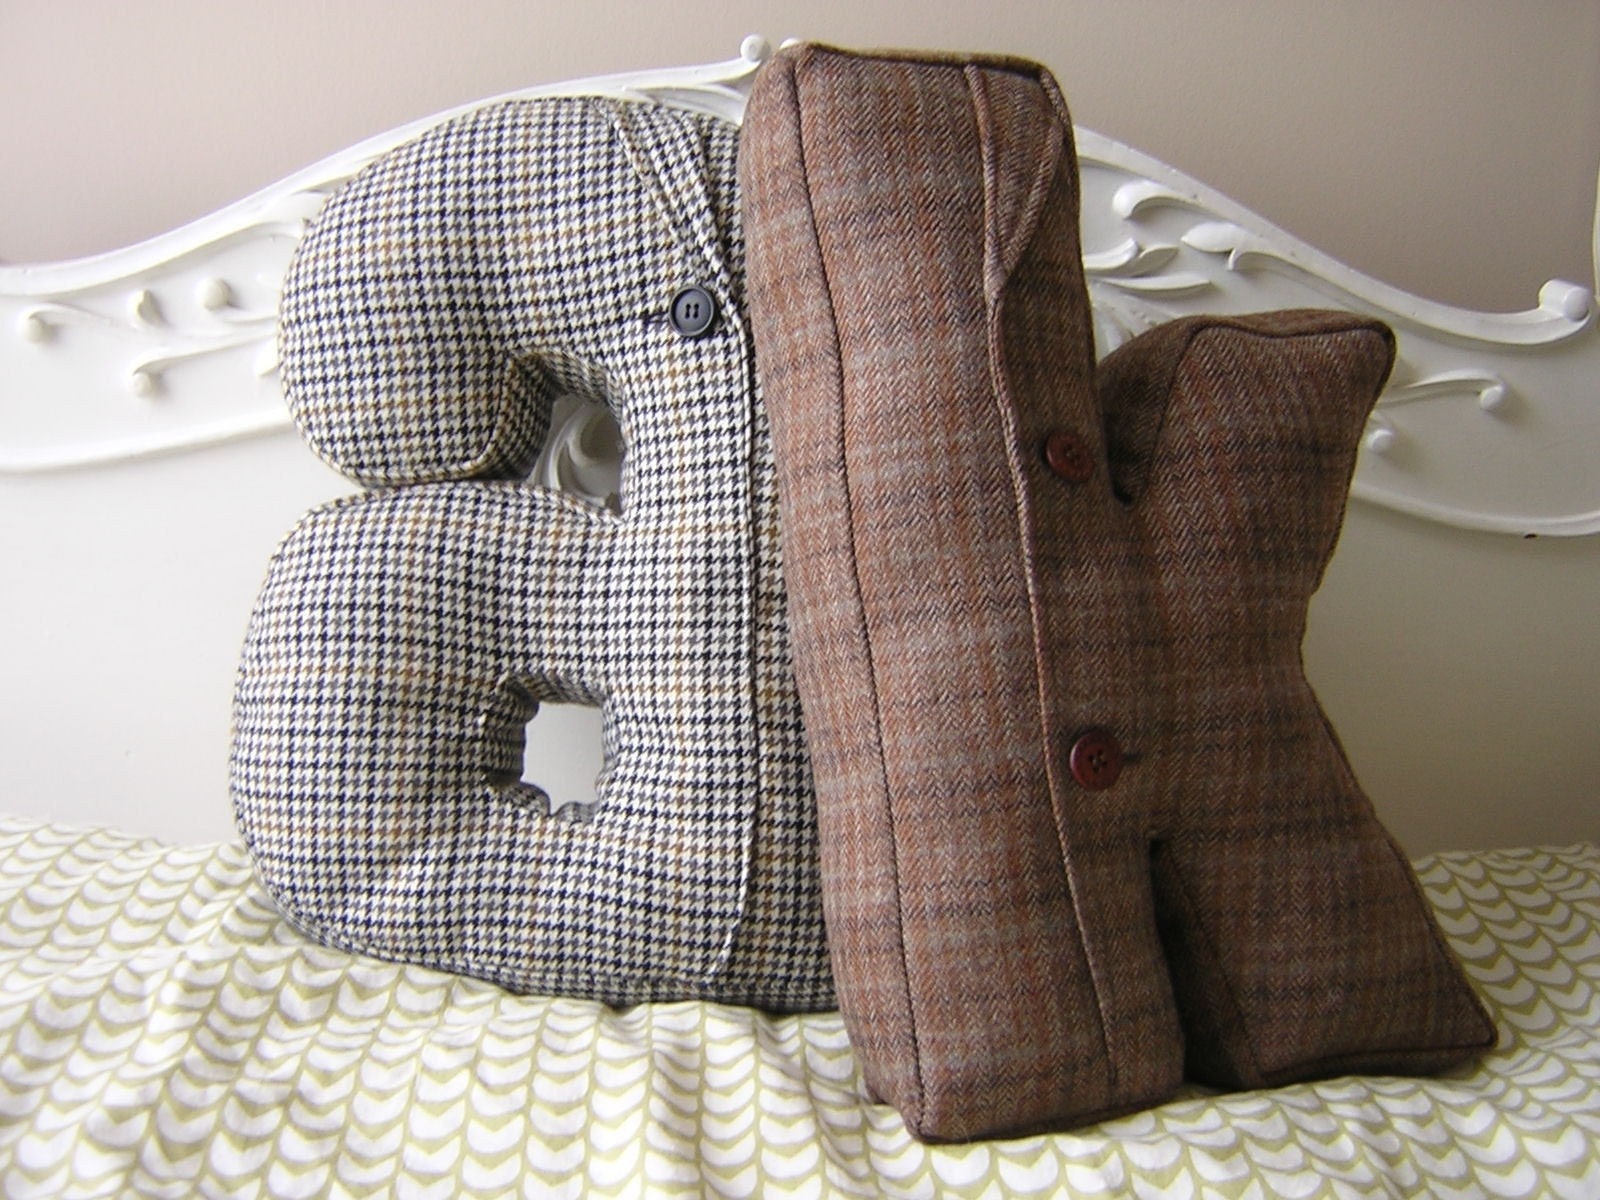
Alphabet Pillow - Custom | ||||||||||||
 | ||||||||||||
| Description | ||||||||||||
| These pillows are made from recycled suit-jackets. Some will have buttons, some will have a pocket, all retro awesome tweeds, herringbones and checks.. I have lots to choose from and can do all letters. Both letters are sold, but are a good example of what I can do! Please allow 1 week for me to make it :) | ||||||||||||
| Added on Aug 18, 2009 | ||||||||||||
| ||||||||||||
| VER AQUI | ||||||||||||
 | ||||||||||||
 | ||||||||||||

These petite stuffed animals-a Fair Isle lamb, a cable-knit chicken, and an argyle pig-are so cuddly and simple to make, you'll want a menagerie. The toys, which range in height from 5 to 8 inches, are each assembled from a few basic felt pieces and plumped up with batting. Appendages, such as floppy ears or wings, are easily added during sewing. Wrap up the woolly creatures to give to your favorite tots, or use them as stocking stuffers.
Before you begin, learn how to felt wool.
Stuffed Chicken How-To
1. Enlarge templates to desired size on a photocopier (for a 5-inch-tall chicken, enlarge 400 percent), and cut out. Using templates as a guide, cut out a side piece from felt; flip template, and cut out another side piece that's the mirror image of the first. Cut out underbelly piece. With right sides facing and 1/8-inch seam allowance, stitch one side to underbelly along lower side portion, from neck to tail, curving underbelly piece to fit.
2. Stitch other side piece to other edge of underbelly, sandwiching underbelly between 2 side pieces. Cut out wattle and comb from felt.
3. Pin wattle and comb, facing inward, between layers of head and neck. Stitch around top of chicken, leaving a hole for stuffing.
4. Turn chicken right side out. Cut out 4 wings. With right sides facing, stitch 2 wings together, leaving a small opening at the base. Turn right side out; hand-stitch opening closed, then hand-stitch to body. Repeat for other wing. Sew a handful of dried beans into a small sack created using a scrap from the sweater. Place inside chicken at bottom, to weight and balance it. Pull cotton or polyester fill into small pieces to prevent lumps, and stuff chicken. Slip-stitch back closed. Steam-iron the finished animal to refine its shape and loosen the stuffing.

Stuffed Lamb How-To
1. Enlarge templates to desired size on a photocopier; for a 6 1/2-inch-tall lamb, enlarge 150 percent. Cut out the templates. Using template as a guide, out the underbelly piece from felted wool. To make legs stand up, fold back each at solid lines, and stitch at dotted lines.
2. Cut out the side piece; flip template, and cut out another side piece that's the mirror image of the first. With right sides facing and 1/8-inch seam allowance, stitch one side to underbelly along lower portion, from neck to tail, curving underbelly piece to fit. Stitch other side piece to other edge of underbelly, sandwiching underbelly between the 2 side pieces. Cut out 2 tail pieces: Stitch, right sides facing, leaving a hole at the base. Turn inside out. and stuff with cotton or polyester fill.
3. Sew dart at mouth. Pin tail, facing inward, between the 2 side pieces. Sew side pieces along top portion of lamb, leaving a gap at the back and at the top of the head. Cut out 4 ear pieces and the top of head piece. Sew together two sets of ear pieces, right sides facing, leaving a hole at the base of each; turn right side out.
4. Cover head: Pin one ear and the top of head piece pointed end facing forward between the layers of the head. Starting in front, sew around the top of the head, stopping when you get to the back. Pin on the other ear, and continue sewing around the head. Turn lamb right side out. Rip fill into small pieces to prevent lumps from forming, and stuff. Slip-stitch the back closed. Steam-iron the finished animal to refine its shape and loosen the stuffing.

Stuffed Pig How-To
1. Enlarge templates to desired size on a photocopier, and cut out. Using template as a guide, cut out the underbelly piece from felted wool. To make legs stand up, fold back each at solid lines, and stitch at dotted lines.
2. Cut out the side piece; flip template, and cut another side piece that's the mirror image of the first. With right sides facing and a 1/8-inch seam allowance, stitch one side to underbelly along lower portion, from snout to tail, curving underbelly piece to fit. Stitch other side piece to other edge of underbelly, sandwiching underbelly between the 2 side pieces. Cut out tail; fold lengthwise, and, with right sides facing, stitch down one side and across one end. Turn right side out. Place a pipe cleaner inside tail; stitch the open end closed.
3. Pin tail, facing inward, between the 2 side pieces. Sew along top portion of pig, leaving a gap at the snout and at the back. Cut out nose, and hand-stitch to snout, right side facing.
4. Turn pig right side out. Rip polyester or cotton fill into small pieces to prevent lumps from forming, and stuff pig. Slip-stitch the back closed. Cut out 4 ear pieces. Sew together two sets of ear pieces, right sides facing, leaving a hole at the base of each; turn right side out, and stitch holes closed. Fold the base of each ear in half, and tack to secure. Hand-stitch ears to head. Twist tail around a pencil to make a curl. Steam-iron the finished animal to refine its shape and loosen the stuffing.
First Published: November 2006
Retirado daqui

Decoradas com círculos de feltro essa luminárias são incrivelmente fáceis de fazer.
Você vai precisar de uma luminária pendente; feltro na cor desejada; pistola e cola quente.
Corte muitos círculos de 5 cm de diâmetro (pode variar um pouco e não precisa ser círculos perfeitos).
Luminária com relevo: dobre o círculo de feltro ao meio para vincar. Passe uma linha de cola quente na parte traseira do vinco e fixe-o à superfície. Adicione tantos círculos e distância que desejar (mais junto fica mais cheio) e vá completando sua luminária.

Luminária lisa: comece com sua camada exterior de círculos e trabalhe no centro. Coloque um ponto pequeno de cola quente na parte traseira do círculo e cole na superfície. Vá adicionando e sobrepondo os círculos até completar.
O resultado quando acesa é excelente!
Retirado daqui